Peat Moss In the Beginning
For the first two years farming microgreens I used peat moss. It was easy to find, pretty cheap and seemed to get the job done. What I didn’t realize, was how many steps and how much time it took to make plain peat moss usable.
My process for making peat work
One, go to big box store and heave huge, heavy bag of peat to a cart, to car, and then into the grow area.
Two, open the bag without spilling it everywhere because I didn’t have a wheelbarrow big enough to hand th entire bag.
Three, haul out my cement mixer and put in just enough peat moss so it would not spill out.
Four, turn on the mixer and slowly add water because dry peat moss repels water. Yes, it repels water. However, once dampened, it can hold on to water. Getting the peat moss to dampen takes time or agitation, in my experience. So, I used a commercial cement mixer to help break it up. All while wearing a mask or holding my breath, because little particles of peat inevitably dispersed into the air.
Five, add perlite. I always added perlite to the mix because if i overwatered microgreens growing in just peat, it was difficult to drain out the excess water without adding perlite. At least, that was my experience.
Six, dump the dampened peat/perlite mixture into a bin without dropping too much.
Seven, repeat step three to six until the entire bag of peat has been hydrated and broken up. Use multiple big bins to capture the mix from the clunky cement mixer.
Eight, start massaging out all the marble-sized remaining peat chunks. This was the worst step. Microgreens don’t grow well in hard peat chunks and having too many chunks interrups a nice even seeding. Microgreens need to be evenly dispersed to ensure good airflow.
I didn’t know any better and I didn’t realize there was a reasonably priced alternative.
Then, 4 Weeks of Back-to-Back Total Crop Loss
Then, I had a solid month of near complete crop failures. Every variety I grew was affected. The first few days after sowing, the greens looked normal. But as the days progressed, the microgreens failed to thrive. The roots were stunted. In fact, I could not even see the roots through the clear bottoms of my growing trays, The tops were stubby. Harvesting was nearly impossible because the sad, short, stubby microgreens dislodged from the peat when I tried to cut.
The process of elimination landed me on three possible culprits: the peat, the water or some unseen fungus/pathogen.
I went back to the big box store, bought a new bag of fresh peat and did the process all over. Again, the microgreens failed to thrive. By this time, I thought it was an unseen fungus. I’d changed out the bag of peat and the problem persisted. It couldn’t have been the peat, could it?
I took a week off of all my markets to disinfect the entire greenhouse as best as I possibly could. I grew another full round of microgreens for markets. I was pretty depressed the loss of two weeks of product meant no income and more work.
I planted again. You guessed it, total loss. I was into week four feeling incredibly humbled.
Then it dawned on me. When I replaced the peat moss with a new bag, I bought it from the same store I’d bought the first from. If the peat was the problem, then the other bags might have been from the same lot. I went to a different store and bought the peat again.
Bingo. The microgreens were back. But a month of working full time with no sales and pitiful microgreens was bad.
I suspected the ph was the problem. I bought a meter and, sure enough, the peat I’d bought was overly acidic. I’d never worried about too much acid, I didn’t even test. It turns out I absolutely should have been testing every batch of peat moss before mixing.
Growing Microgreens: Watering Problems With Peat Moss
Peat moss repels water when it is dry. I regularly had dry microgreens. I find that allowing the microgreens to experience stress helps them become stronger and tastier. Also, I grew outside and sometimes, when I was at a farmer’s market, I couldn’t water until it ended.
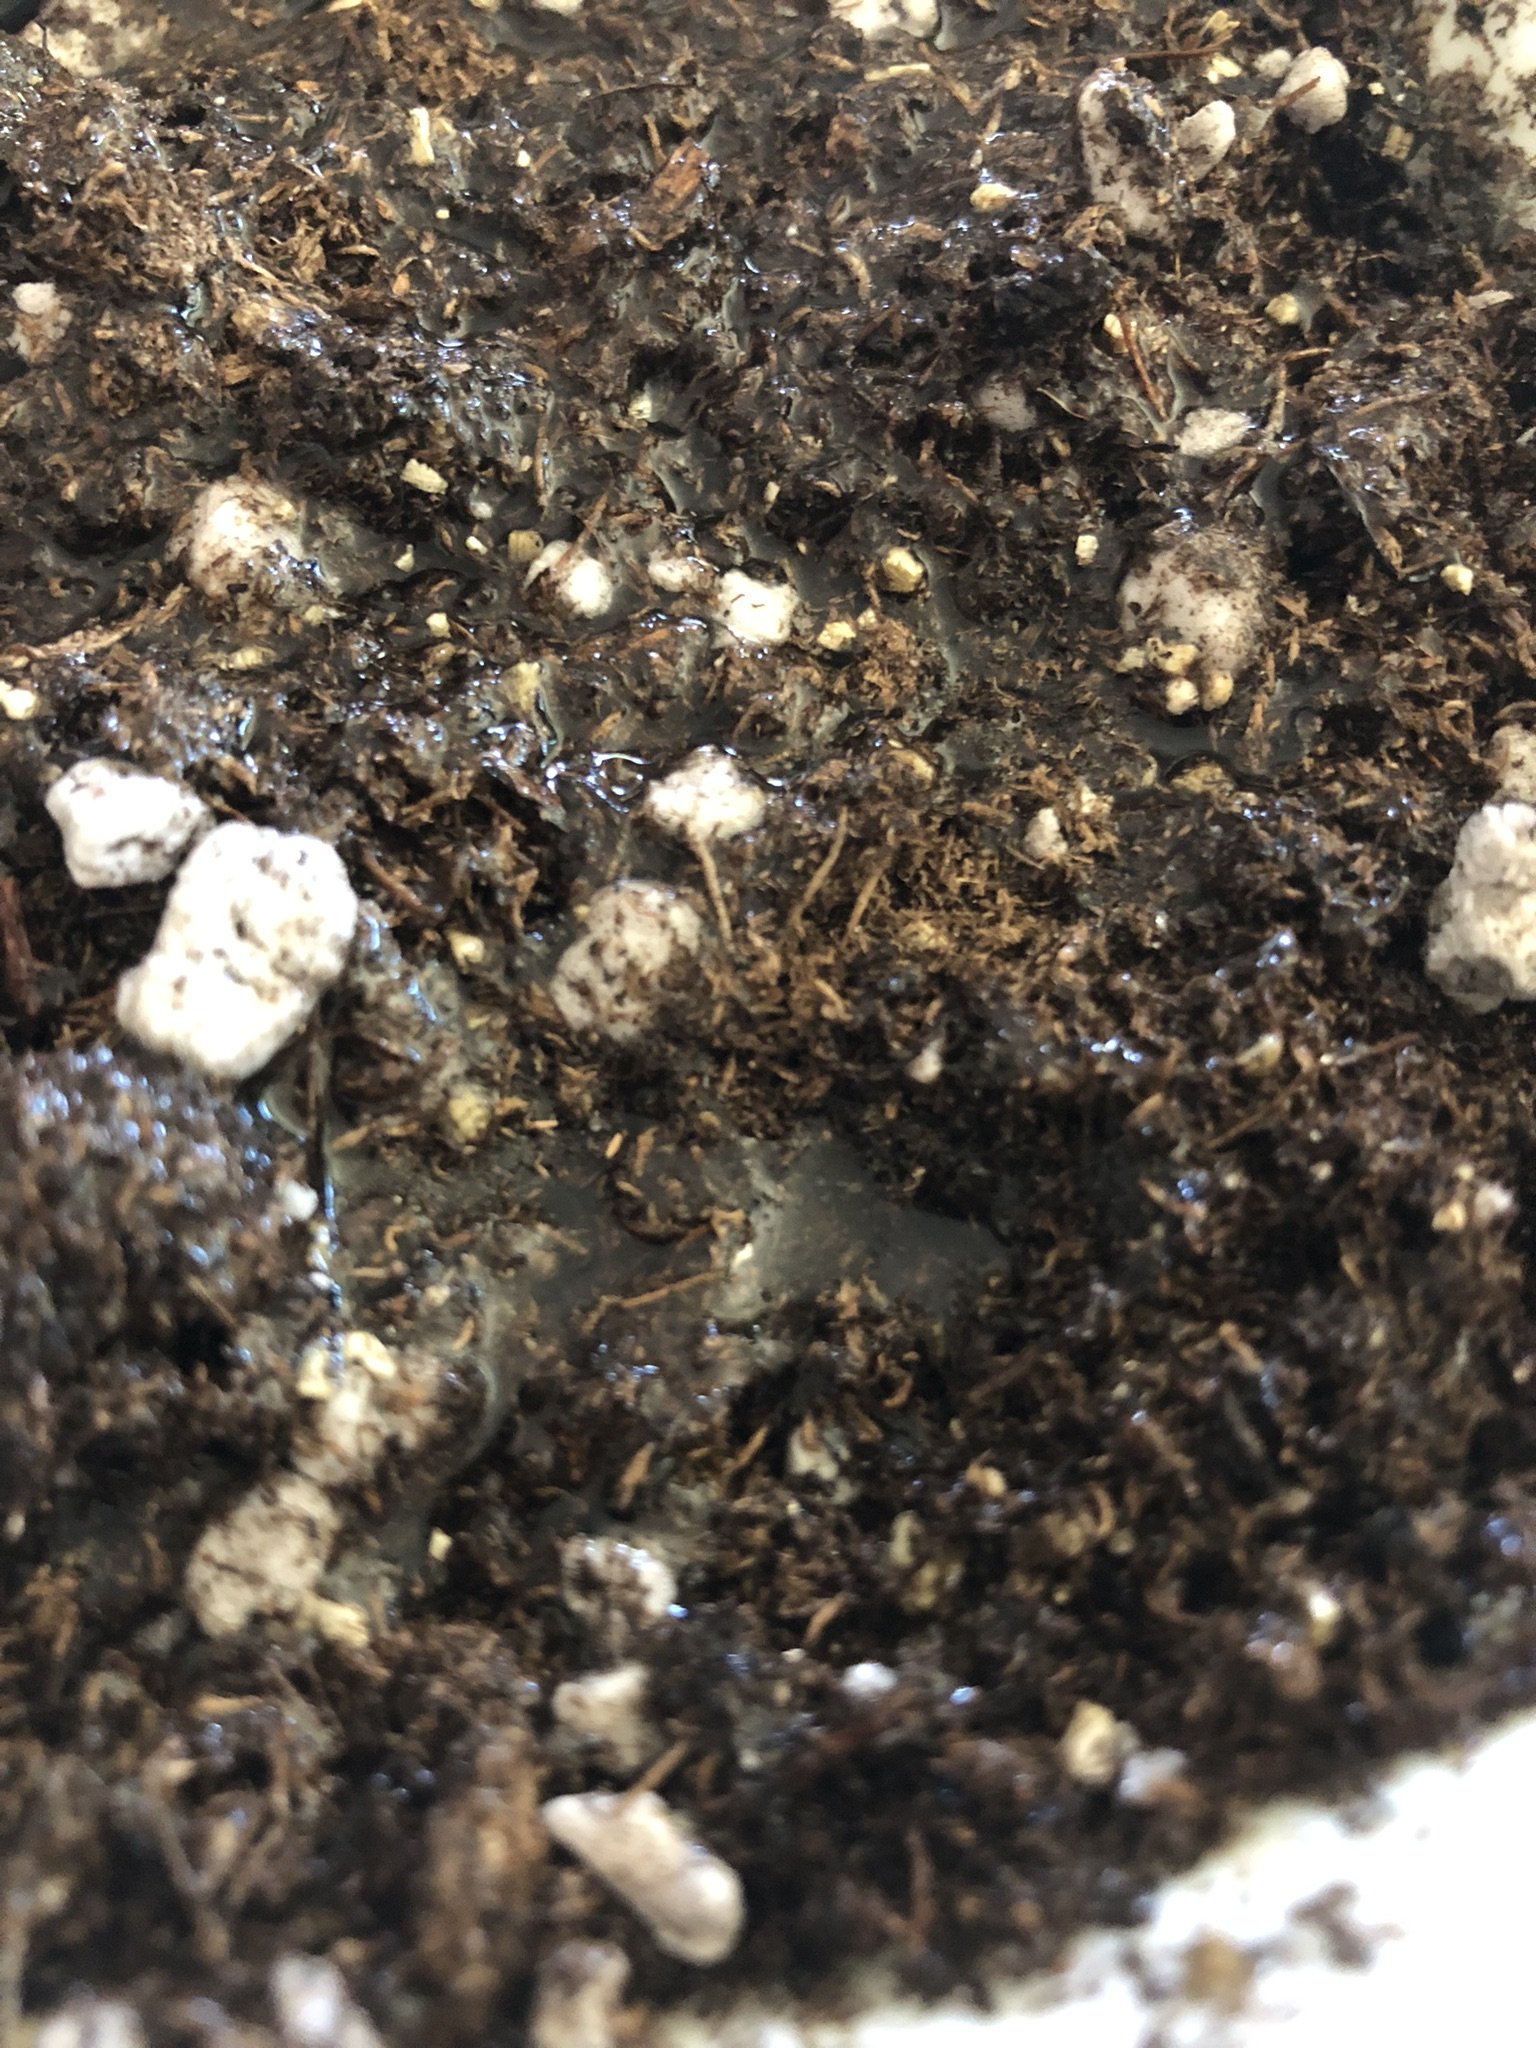
When I introduced water to dry peat moss, it repels. When you’ve got microgreens on the dry side and you need add water fast, peat moss is not on your team. It pools on top of the tray (or if you bottom water, the peat just floats on top of the water). No good. You can’t massage the water into a growing tray of microgreens.
Also, if you overwater peat moss, it is not easy to drain off the excess water. Yes, you can squeeze out extra water, but you don’t want to squeeze out a tray of microgreens. Squeezing only works before sowing.
Few Positives For Using Peat Moss To Grow Microgreens:
-
Readily Available.
The giant bricks of peat moss are easy find in any big box home improvement store.
-
Cheap.
They are inexpensive. There, those are the only two good things I can say about peat moss.
-
No Weeds
-
No Pests
Negatives:
-
Heavy
Those giant bricks of peat moss are heavy. Everytime I had to move them around it was a battle.
-
Potential Sustainability Issues
Peat is harvested from peat bogs. According to the European commission’s proposal for a Regulation on Nature Restoration Fact Sheet October 2022
“Peatlands occur in almost all EU member states, although are concentrated mostly in North-western, Nordic and Eastern European countries. More than 50% are degraded by drainage and used for agriculture, forestry and peat extraction. This is associated with a series of ecological problems, including declining biodiversity, soil subsidence, higher risk of peat fires, salt intrusion in coastal areas and greater risk of disasters such as flooding. Furthermore, the degradation of peatlands releases huge quantities of carbon into the atmosphere, contributing to climate change. The EU is the second largest global emitter of greenhouse gases (GHG) from drained peatlands (230 Mt CO2eq/year = 15% of total global peatland emissions).”
Yikes. Peat can be environmentally damaging. But, of course, there is more to the story, which is why I label this section Potential Sustainability Issues.
There are organizations and associations pioneering a sustanable peat industry. New methods of responsibly harvesting have emerged and 3rd Party certification of responsible harvesting and responsible harvesting locations, as well as requiring the rehabilitation of harvested peatlands. Read about one such European certification body here. And another North American certification here.
So, there may be ways to ensure that the production of horticultural peat moss is not damaging to the environment, especially for those of us in Canada and the US (without the same history of damaged peatbogs as Europe). Read another analysis there.
-
Chunky
You must massage out every chunk. It is not fun, and a total waste of time.
-
Water Repellant
See above.
-
PH Levels
You read the story, right? Peat moss is acidic and, as it turns out, some batches are too acidic for microgreens.
Peat Moss As An Ingredient to Grow Microgreens
You can buy seed starting mixes that have peat as an ingredient.
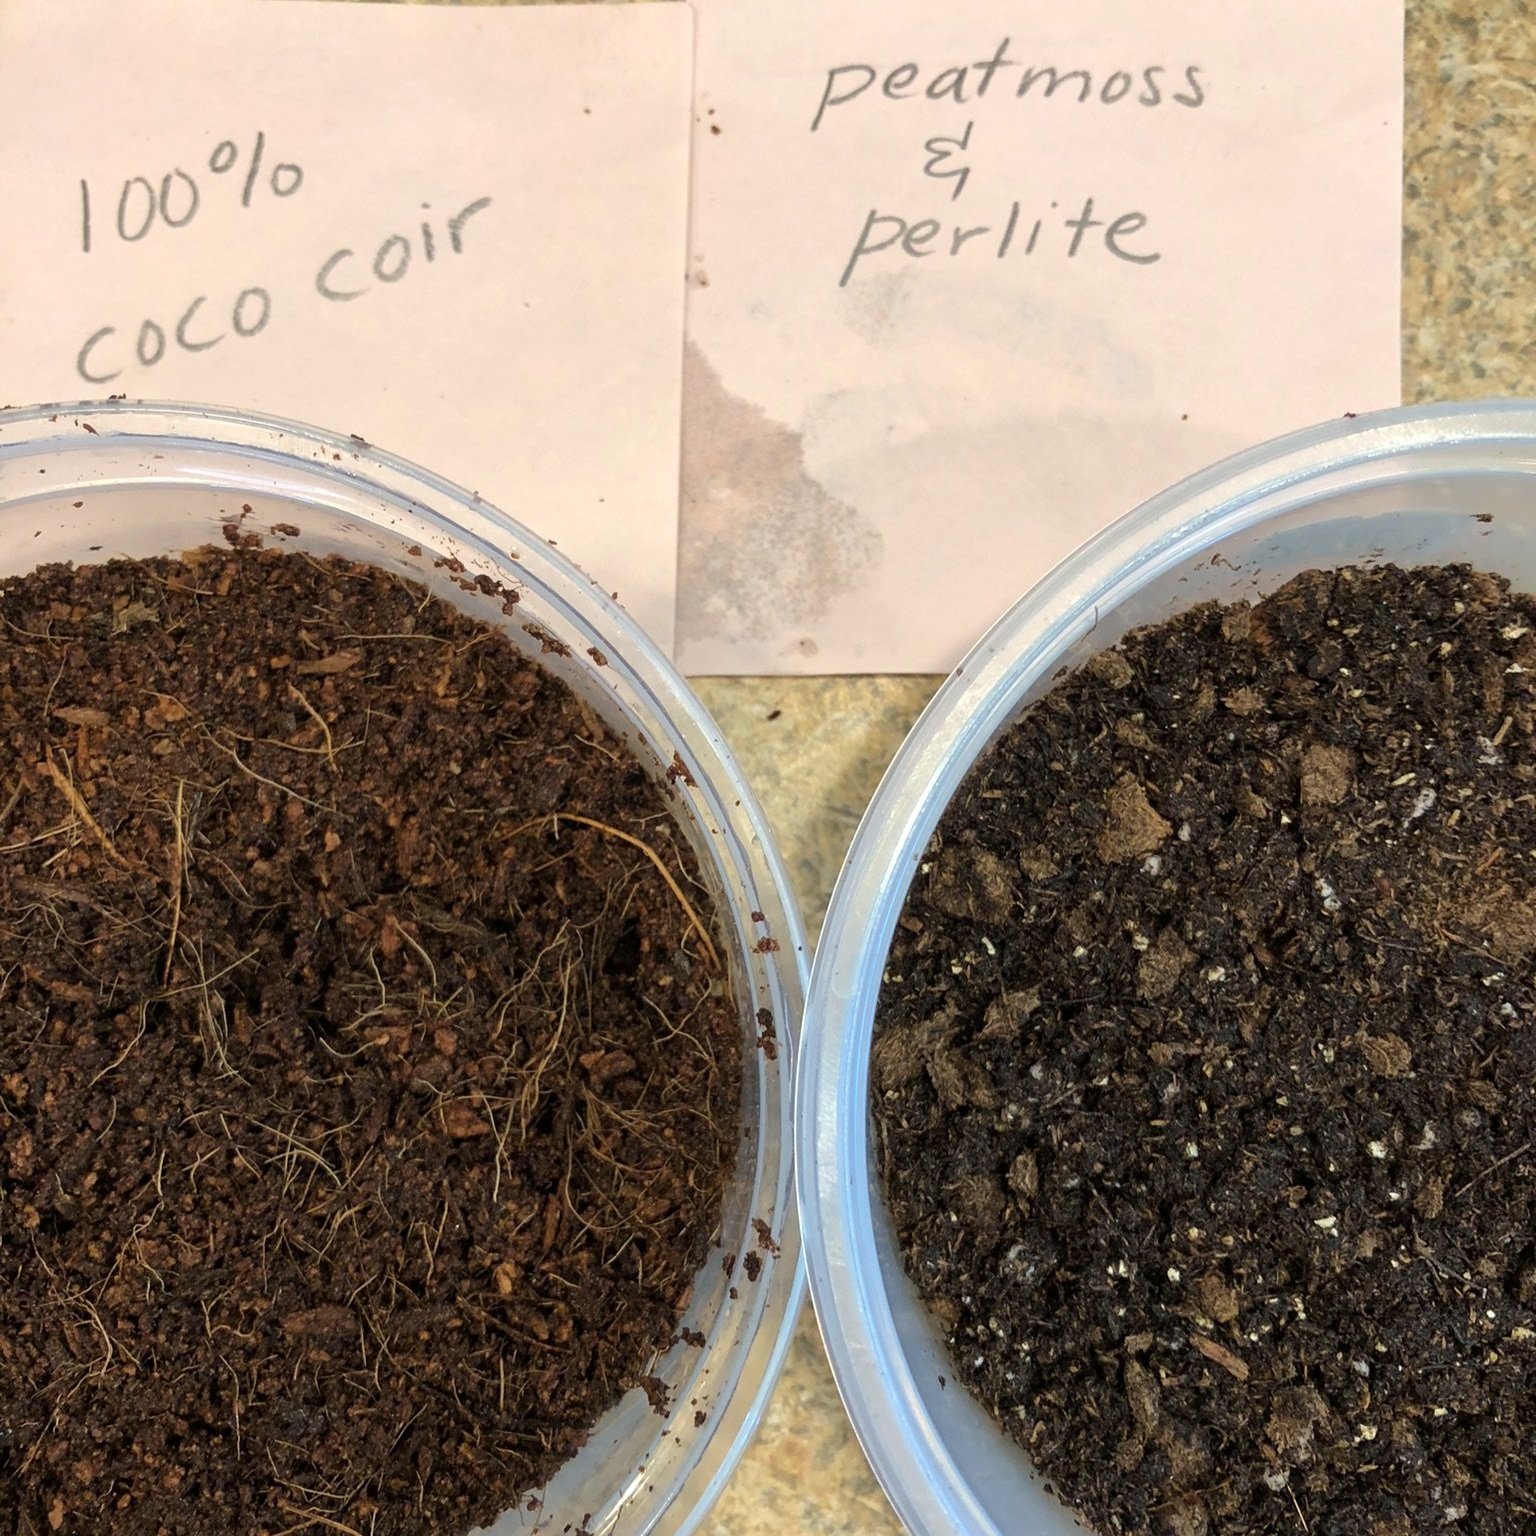
I’ve used the Jiffy Seed Starting mix to grow microgreens. I do not prefer it. There is too much peat in the mix. It still has little chunks that need massaging, and it still repels water. That said, I find that some micro argulua seed lots prefer a more acidic growing medium than coco coir. I’ll use some peat for growing arugula. Even then, I find I need to add a large percentage of coco coir to any peat mix. Experiment yourself.
Another issue I have with a seed starting mix with peat has nothing to do with the peat and everything to do with the additives. Fertilizer is not necessary for microgreens. Compost added to a seed starting mix is probably fine for starting seeds, but I don’t buy it for microgreens.
The use of compost is a subject for another blog post, but my issue is food safety. Compost has the potential for carrying food pathogens so I don’t take the risk when growing microgreens, and I don’t think you should either.
I’d love to hear your feedback about using peat moss for growing microgreens. Of course there are many options for growing microgreens, peat moss is just one. Feel free to comment, send me an email, jump on my email list, or DM me on instagram with reactions!
