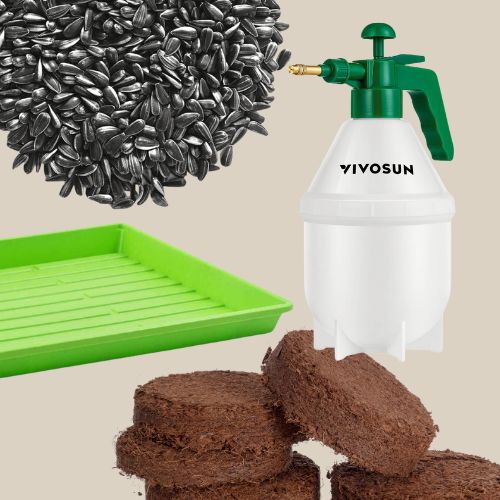
Ready to grow your own microgreens? Excellent choice. One great thing about growing microgreens is that it doesn’t require a big initial investment. Seeds, growing medium, water, and a recycled container are sufficient to get you started. Graduate to a pump mister, sturdy trays, seed starting warming mat, and a grow light once you find your groove.
Now you have a full set-up to easily grow your own nutrient-dense microgreens all year round. This is the list of microgreen supplies that I use. Everything is vetted thoroughly and is time-tested by me, a real microgreen farmer with over ten years of experience growing and selling. Now I’m sharing all of my growing secrets and insider info with you! Get your supplies ready and get started with my growing guides: how to grow arugula microgreens and how to grow sunflower microgreens.
1. The Sprouter
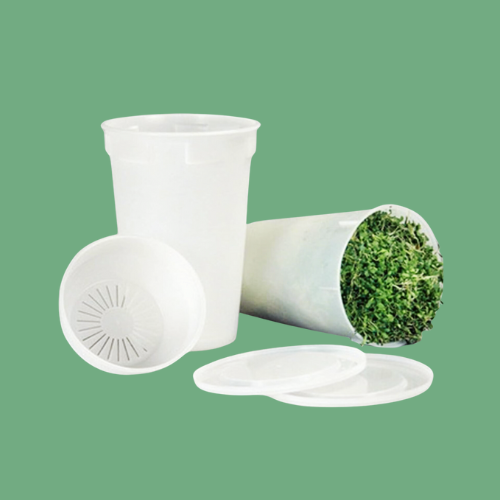
Yes, this list is about growing microgreens and not sprouts. However, this sprouter is the one I use to soak sunflower and pea seeds before sowing. I also use it to rinse and sanitize seeds. It is also great for spouting lentils (one of the few times I sprout and not grow as microgreens). This sprouter is not fancy or particularly pretty, but it works great for large and small seeds. It can go in the dishwasher and will not break. You don’t need to turn this spouter upside-down.
2. Sturdy 1020 Microgreen Tray With Holes
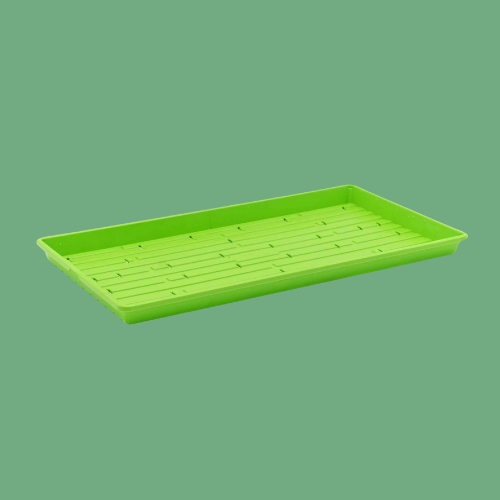
This heavy-duty 1020 tray with holes is perfect for growing sunflower and pea shoots. It is also a great tray for growing more traditional microgreens (like broccoli, mustard, and radish), but I recommend smaller round trays for those varieties because it is hard to finish a 1020 size tray before they go bad.
This sturdy 1020 short tray is the very same tray I used for my farm Quantum Microgreens. Buy at least two of these 1020 trays with holes to grow one crop. The first tray is for the soil and seeds, the second tray is used a topper. If you want a constant supply of microgreens, you’ll want to buy at least 4 1020 trays with holes.
2. Sturdy 1020 Microgreen Tray Without Holes
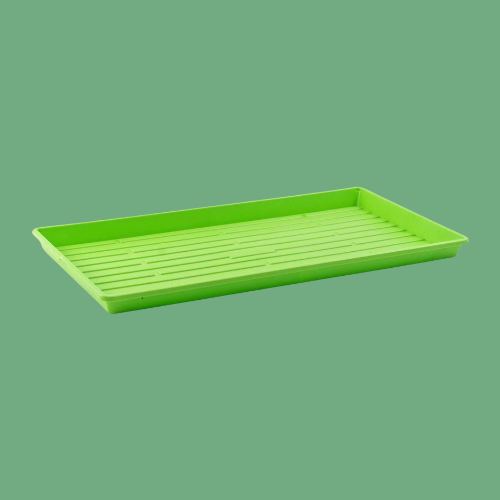
This heavy-duty 1020 tray without holes is used to grow sunflower and pea shoots (or regular microgreens if you are growing a big crop) when bottom watering. You place the nearly identical tray with holes inside this tray without holes.
This tray is very sturdy and will not collapse under the weight of a full microgreens crop.
3. Personal Size Growing Trays
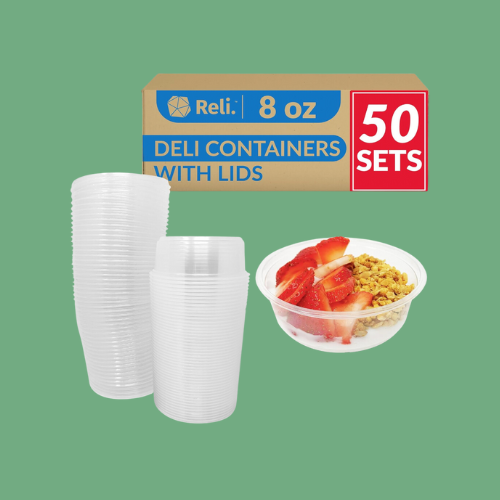
You probably have at least one 8oz deli container already (that hummus or dip you bought last week?), but if you want to grow personal-sized living microgreens trays in bulk, these are the trays to buy. These have lids, because finding 8oz deli trays without lids often means buying 500 (you don’t need the lid)
These are transparent enough to see the color of the growing medium and the health of the roots to help you gauge the status of your grow. The round shape helps with airflow and makes harvesting easy.
4. Block of Compressed Coco Coir
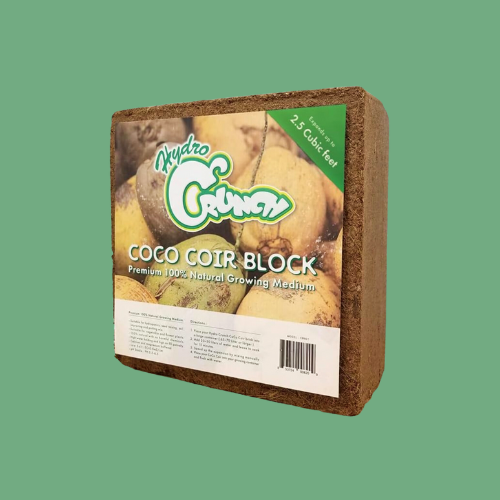
This size 2kg block of compressed coco coir is the most bang for your buck. You will need a big container to rehydrate the brick, or a heavy-duty large trash bag to rehydrate. This is the size I used when I farmed microgreens. If you are determined, you can shave off pieces to rehydrate as needed.
This is the kind of growing medium I recommend. No animal products, neutral, water absorbent, and great for microgreens.
5. Brick of Compressed Coco Coir
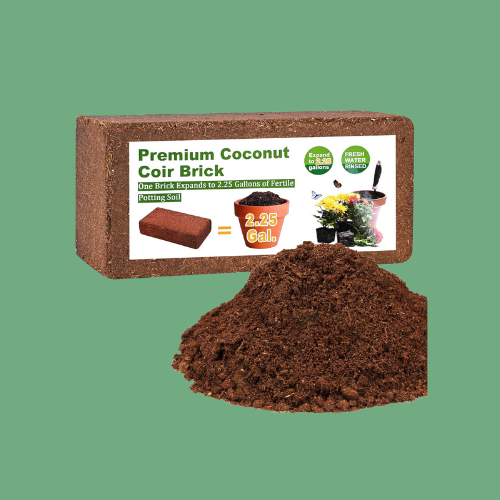
If you don’t want to fuss with a giant block of coco coir, this brick is ideal. I recommended coco coir for growing microgreens.
6. Seed Starting Mat
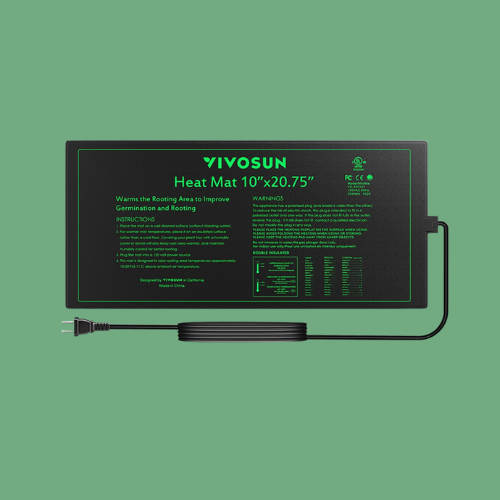
This mat is not strictly necessary for growing microgreens unless you are growing in cold weather or you’d like to speed up your grow in cooler weather. If you want to grow microgreens and it is colder than 65 degrees in your growing area, a heated mat will help speed up your grow. Especially great for growing sunflower shoots in colder weather.
7. Pump Mister
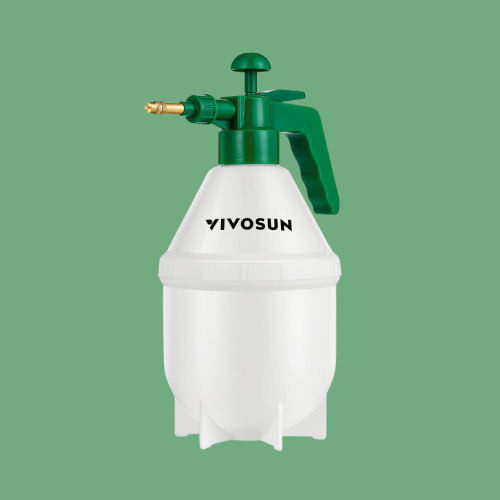
Microgreen seeds can easily clump up or get knocked around when you water them. Avoid clumped-up microgreen seeds (which can lead to problems) by using a pump mister on the finest mist setting. I like this type of mister because you adjust the spray depending on the variety and stage of growth. This type of mister does better than typical spray bottles and is great for both small and large trays of microgreens.
7. Harvesting Knife
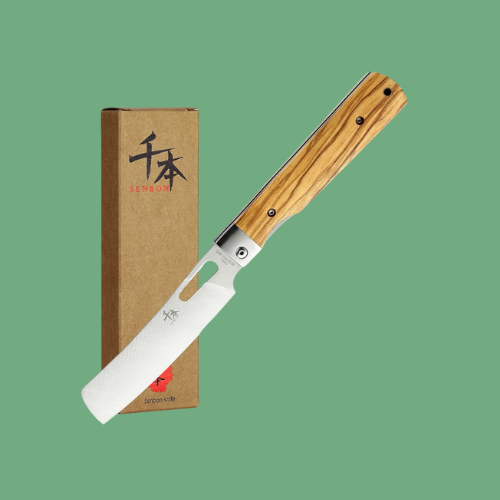
I love this knife for harvesting microgreens, it is super sharp. Because I often grow microgreens outdoors, I love this folding knife for walking in and out of the house to harvest without worrying about stabbing anyone or anything. It’s also great if you like to bring microgreens to dinner parties or picnics.
I’ve had mine for years now and it is still super sharp.
7. Nutrients
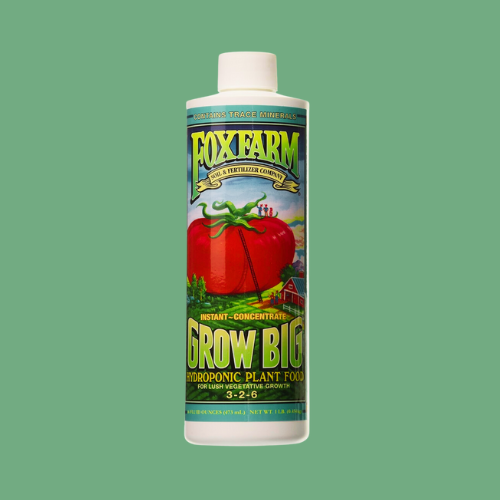
Hydroponic nutrient is not necessary to grow microgreens. I rarely used it when I was farming. However, it makes a big difference with some types of microgreens, especially the microgreens that have a longer growing period. Basil and arugula especially appreciate a little nutrient. I use this brand and add 1/2 teaspoon to one gallon of water for watering.
7. Arugula Seeds
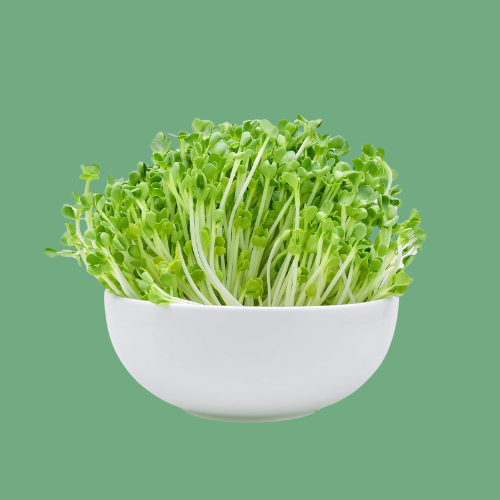
Arugula is one of the fastest-growing microgreens. If you are new to growing microgreens and want to see nearly instant results, start with arugula. In warm weather, you can usually start harvesting in a week (or even less)! Once you get the hang of growing arugula, move on to more difficult varieties.
7. Sunflower Seeds
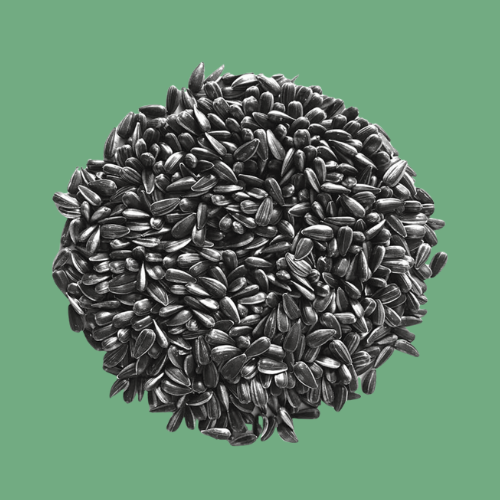
The most popular microgreen I sold was sunflower shoots and I agree. Though sunflower shoots are not the easiest microgreens to grow, they are worth it. They are also excellent as a stand-alone salad, so if you are like me, and love the idea of growing your own salad greens any time of the year, you’ll want to learn to grow sunflower shoots. I recommend these seeds.
Start Growing Your Own Microgreens
How to Grow Arugula Microgreens at Home (Step-By-Step Guide)
